ブログをHugoからAstroにしました
2023年から個人ブログをHugoに書き出しましたが、ブログを書いていると自分好みにカスタマイズしたい欲が出てきました。
さらに昨今のフロントエンドがまったくわからなかったので、試しにAstroで作りました。
この記事では、環境構築とデプロイを備忘録として書きます
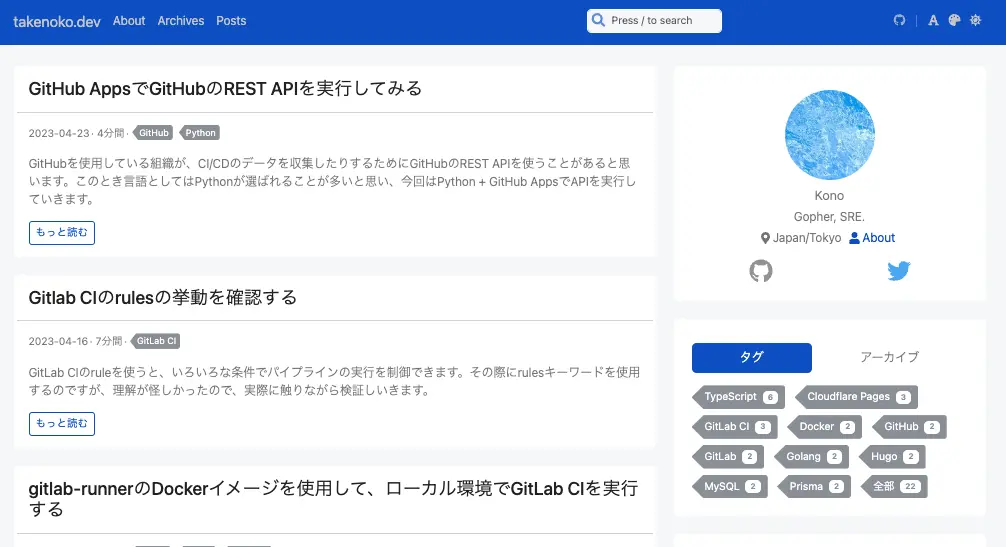
以前のブログ
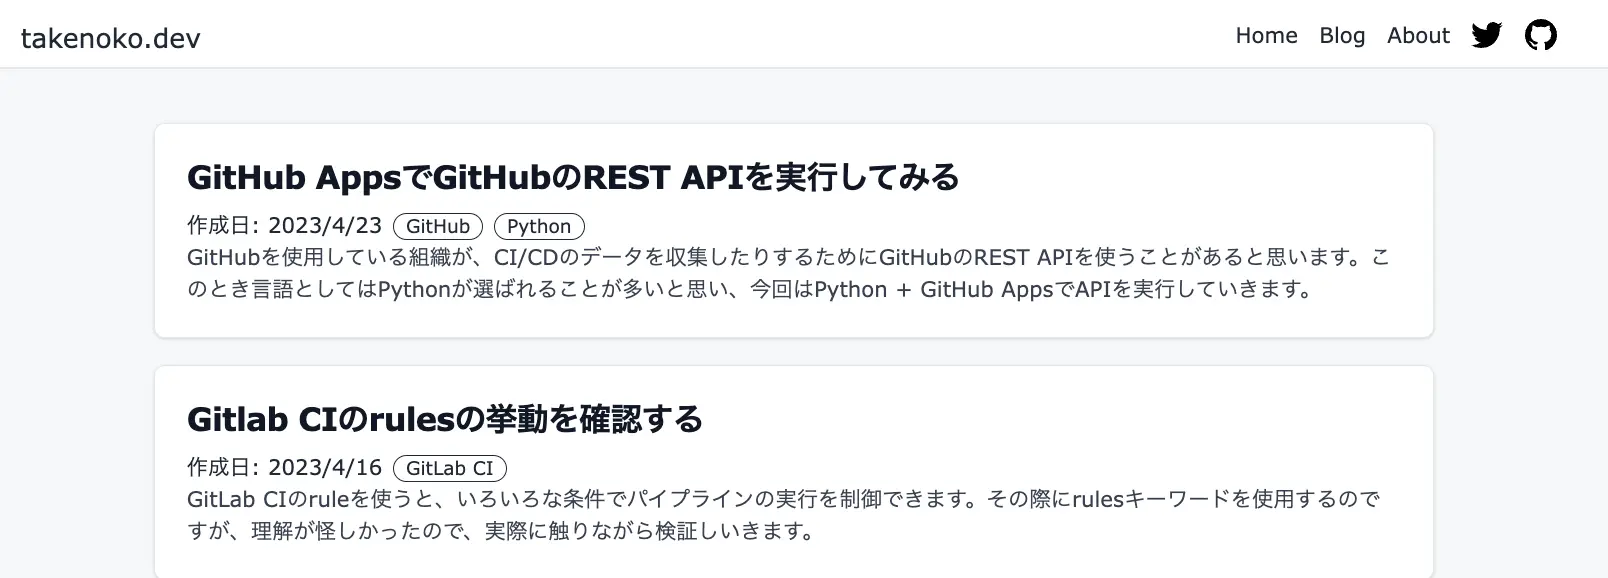
新しいブログ
プロジェクトを作成する
Section titled “プロジェクトを作成する”$ node -vv18.13.0
$ npm create astro@latest
╭─────╮ Houston:│ ◠ ◡ ◠ Time to build a new website.╰─────╯
astro v2.0.15 Launch sequence initiated.
dir Where should we create your new project? ./astro-blog
tmpl How would you like to start your new project? Use blog template ✔ Template copied
deps Install dependencies? Yes ✔ Dependencies installed
ts Do you plan to write TypeScript? Yes
use How strict should TypeScript be? Strict ✔ TypeScript customized
git Initialize a new git repository? Yes ✔ Git initialized
next Liftoff confirmed. Explore your project!
Enter your project directory using cd ./astro-blog Run npm run dev to start the dev server. CTRL+C to stop. Add frameworks like react or tailwind using astro add.
Stuck? Join us at https://astro.build/chat
╭─────╮ Houston:│ ◠ ◡ ◠ Good luck out there, astronaut! 🚀╰─────╯GitHubなどで、空のリポジトリを作成してしてください。 作成したプロジェクトに移動して、git管理できるようにします。
$ git init$ git add -A$ git commit -m "first commit"$ git branch -M main$ git remote add origin git@.github.com:kntks/astro-blog.git$ git remote -vorigin git@github.com:kntks/astro-blog.git (fetch)origin git@github.com:kntks/astro-blog.git (push)サーバを立てる
Section titled “サーバを立てる”$ npm run devブラウザでlocalhost:3000にアクセスするとサイトが立ち上がります
prettier追加
Section titled “prettier追加”$ npm i -D prettier prettier-plugin-astroscriptsに"lint:fix": "prettier --write src/**/*.{astro,ts,js}"を追加
{ "name": "astro-blog", "type": "module", "version": "0.0.1", "scripts": { "dev": "astro dev", "start": "astro dev", "build": "astro build", "preview": "astro preview", "astro": "astro", "lint:fix": "prettier --write src/**/*.{astro,ts,js}" }, "dependencies": { "@astrojs/mdx": "^0.17.2", "@astrojs/rss": "^2.1.1", "@astrojs/sitemap": "^1.1.0", "astro": "^2.0.15" }, "devDependencies": { "prettier": "^2.8.4", "prettier-plugin-astro": "^0.8.0" }}参考:
husky, lint-stagedを追加
Section titled “husky, lint-stagedを追加”$ npm i -D husky lint-staged$ npx husky install$ npx husky add .husky/pre-commit#!/bin/sh. "$(dirname "$0")/_/husky.sh"
npx lint-staged --allow-emptylint-stagedの設定は、以下にある、どのファイルに記述してもよいそうです。
- package.json
- .lintstagedrc.json
- .lintstagedrc.yaml
- .lintstagedrc.yml lint-staged configuration - GitHub README
今回は、package.jsonに書きます。
"scripts": { ... "lint:fix": "prettier --write src/**/*.{astro,ts,js}"},"lint-staged": { "src/**/*.{astro,ts,js}": "npm run lint:fix"},参考:
tailwindを入れる
Section titled “tailwindを入れる”tailwindを入れます。
$ npx astro add tailwind@astrojs/tailwind - astro docs
スタイルをつけてみる
Section titled “スタイルをつけてみる”src/components/Header.astroにtext-3xlをつけてみます。
文字サイズが変わるはずなので、ブラウザ表示したブログを確認してみてください。
---import HeaderLink from "./HeaderLink.astro";import { SITE_TITLE } from "../consts";---
<header>  <h2 class="text-3xl">    {SITE_TITLE}  </h2>  <nav>    <HeaderLink href="/">Home</HeaderLink>    <HeaderLink href="/blog">Blog</HeaderLink>    <HeaderLink href="/about">About</HeaderLink>    <HeaderLink href="https://twitter.com/astrodotbuild" target="_blank">      Twitter    </HeaderLink>    <HeaderLink href="https://github.com/withastro/astro" target="_blank">      GitHub    </HeaderLink>  </nav></header><style>  header {    margin: 0em 0 2em;  }  h2 {    margin: 0.5em 0;  }</style>
モジュールのインポートパスを修正する
Section titled “モジュールのインポートパスを修正する”ファイルはsrcディレクトリ配下に書くので、毎回importするたびにsrc/xxxxとか../../xxxx.astroと書くのは冗長です。
そのため tsconfig.jsonにbaseUrl以下を追記し、コーディングを楽にします
{ "extends": "astro/tsconfigs/strict", "compilerOptions": { "strictNullChecks": true, "baseUrl": "./src", "paths": { "@components/*":["components/*"], "@layouts/*":["layouts/*"], }, },}これで、components、layouts配下のディレクトリをインポートするときに@components、@layoutsでインポートできるようになりました。
フィアルを修正していきましょう。
import { SITE_TITLE } from "../consts";import { SITE_TITLE } from "consts";import type { CollectionEntry } from "astro:content";import BaseHead from "../components/BaseHead.astro";import Header from "../components/Header.astro";import Footer from "../components/Footer.astro";import FormattedDate from "../components/FormattedDate.astro";import BaseHead from "@components/BaseHead.astro";import Header from "@components/Header.astro";import Footer from "@components/Footer.astro";import FormattedDate from "@components/FormattedDate.astro";---import BaseHead from "../components/BaseHead.astro";import Header from "../components/Header.astro";import Footer from "../components/Footer.astro";import BaseHead from "@components/BaseHead.astro";import Header from "@components/Header.astro";import Footer from "@components/Footer.astro";いったんの土台は完了しました。
Cloudflareの設定は以前書いたCloudflare Pages + Terraformでブログ環境を構築するの設定をそのまま使います。
つまりデプロイの流れとしては、ブランチにコードをプッシュすると、GitHub Actionsが動いてCloudflare Pagesにデプロイされる、です。
デプロイに使用するGitHub Actionsの設定をastroのリポジトリにも書きます。
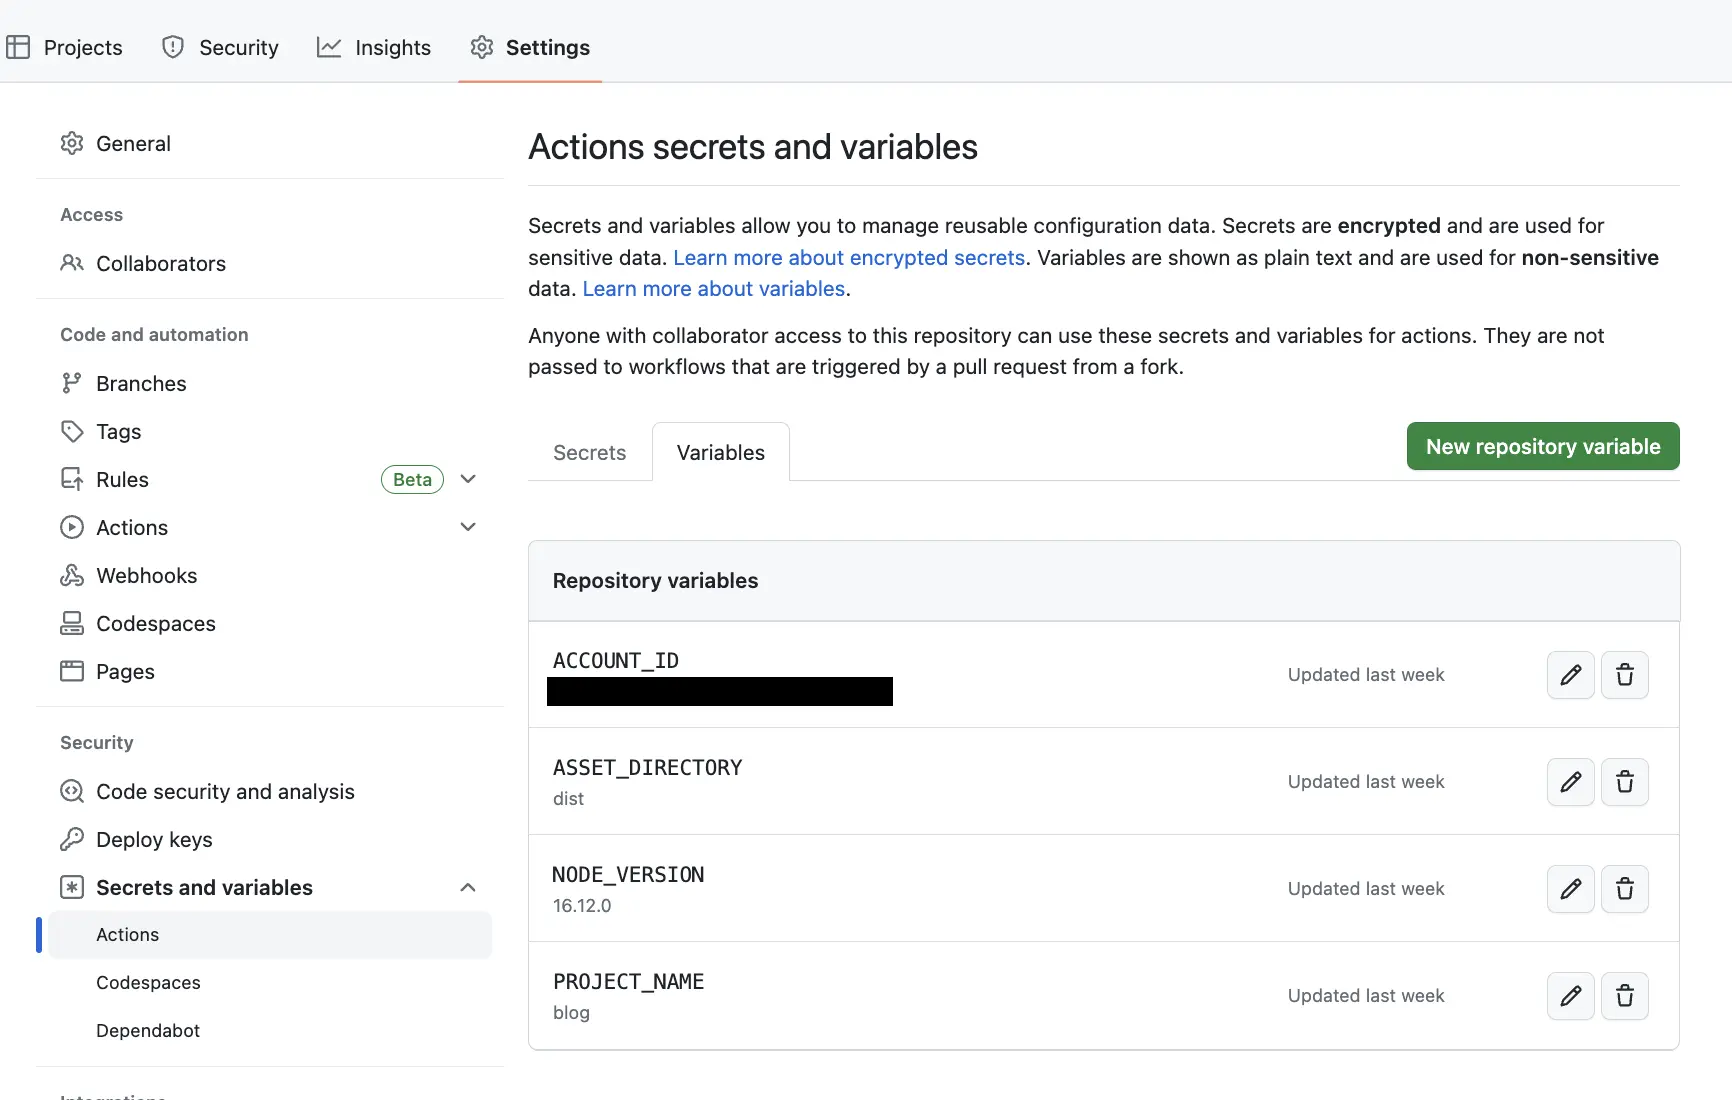
GitHub Actionsに設定する変数はDeploying with Cloudflare Pages - Cloudflare Docsの値をそのまま使います。
| 変数 | 値 |
|---|---|
| ASSET_DIRECTORY | dist |
| NODE_VERSION | 16.12.0 |
| PROJECT_NAME | blog |
on: [push]
jobs:  publish:    runs-on: ubuntu-latest    permissions:      contents: read      deployments: write    name: Publish to Cloudflare Pages    steps:      - name: Checkout        uses: actions/checkout@v3
      - name: Setup Node        uses: actions/setup-node@v3        with:          node-version: ${{ vars.NODE_VERSION }}          cache: 'npm'          # The action defaults to search for the dependency file (package-lock.json,          # npm-shrinkwrap.json or yarn.lock) in the repository root, and uses its          # hash as a part of the cache key.          # https://github.com/actions/setup-node/blob/main/docs/advanced-usage.md#caching-packages-data          cache-dependency-path: '**/package-lock.json'
      - run: npm ci      - run: npm run build
- name: Publish to Cloudflare Pages uses: cloudflare/pages-action@v1.3.0 with: apiToken: ${{ secrets.CLOUDFLARE_API_TOKEN }} accountId: ${{ vars.ACCOUNT_ID }} projectName: ${{ vars.PROJECT_NAME }} directory: ${{ vars.ASSET_DIRECTORY }} # Optional: Enable this if you want to have GitHub Deployments triggered # gitHubToken: ${{ secrets.GITHUB_TOKEN }}これで開発からデプロイまでの土台は完了しました。